Persistent Page Indicator on Menus
For purposes of this tutorial, I will not discuss how to style a CSS menu. You'll find plenty of web tutorials that thoroughly cover that topic. Rather, I will show you how to add persistent menu highlighting or "You are Here" styles to your site wide menus with pure CSS code. No scripts are required for this method.
Let's say your menu resembles my crude example below with the PRODUCTS page highlighted:
HOME | ABOUT US | PRODUCTS | SERVICES
1) Open your CSS code and define a body and link class for each menu item:
body.home  a.home,
body.about  a.about,
body.products  a.products,
body.services a.services  {
/**your custom styles here**/
   color: red;
   text-decoration: underline;
   background: yellow;
}
2) Open your HTML and add a class name to each anchor in your menu:
<a class="home" href="index.html">HOME</a> |
<a class="about" href="about.html">ABOUT US</a> |
<a class="products" href="products.html">PRODUCTS</a> |
<a class="services" href="services.html">SERVICES</a>
3) Finally, add a body class to each of your web pages. In other words, on your site's home page, replace the <body> tag with <body class="home">
On your About Us page, replace the <body> tag with <body class="about"> and so on...
Voila! Automatic menu highlighting occurs when the body and anchor classes match.
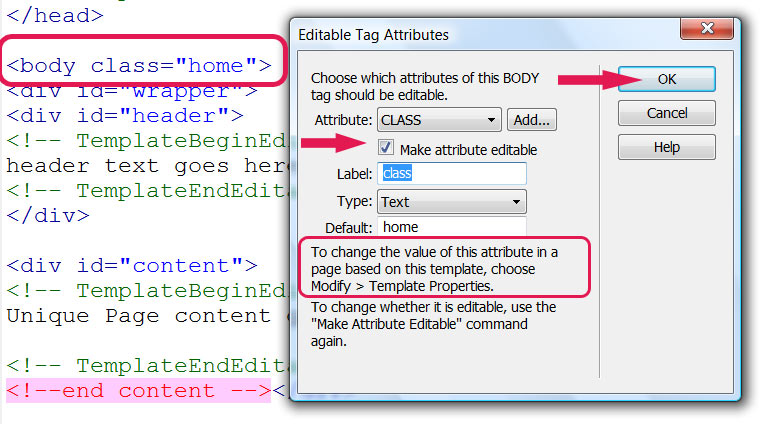
NOTE: To make the body class editable in a Dreamweaver Template (.dwt), you'll need to Define an editable tag attribute in your Template (see screenshots below for details).
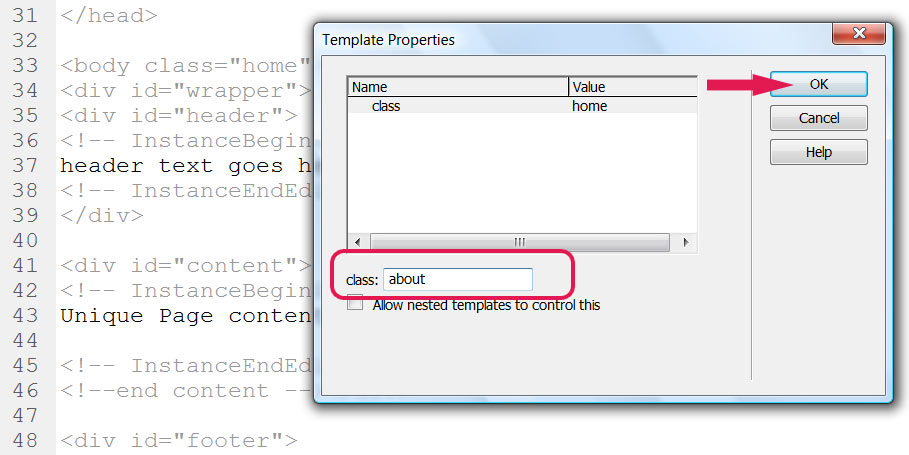
Next, Modify > Template Properties in each of your Child Pages.
Save and upload all child pages to your remote server. That's all there is to it. Hope you enjoyed this brief tutorial.